Let's be honest. Most cherry tart recipes promise a lot but deliver a sad, soggy mess. The crust tastes like cardboard, the filling is either a soupy puddle or a gluey brick, and the whole thing looks nothing like the picture. I've been there. After a decade of baking tarts professionally and at home, I've learned it's not about fancy techniques. It's about nailing two simple things: a flaky, buttery crust and a perfectly balanced, sliceable filling. This guide strips away the fluff and gives you the exact steps and, more importantly, the why behind them. You'll get a tart that's impressive enough for a dinner party but straightforward enough for a Tuesday night.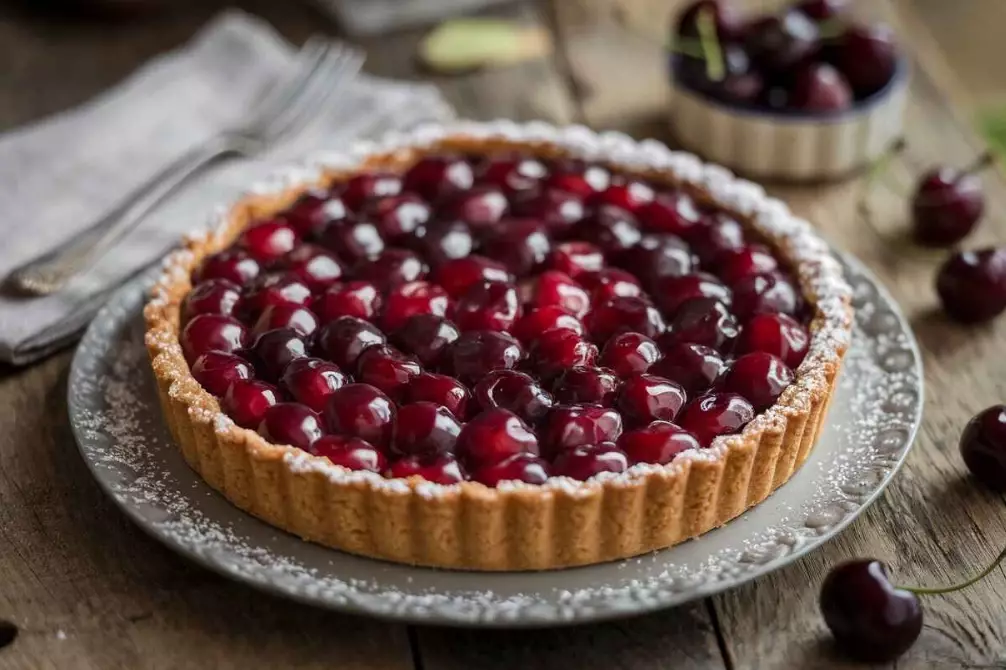
What You'll Find in This Guide
The Foolproof Tart Crust: Cold Butter & Patience
This is where 90% of tarts fail. People overwork the dough. They use warm butter. They skip the chilling. The result? A tough, dense crust that shrinks in the pan. We're not making bread; we don't want gluten development. We want tender flakes.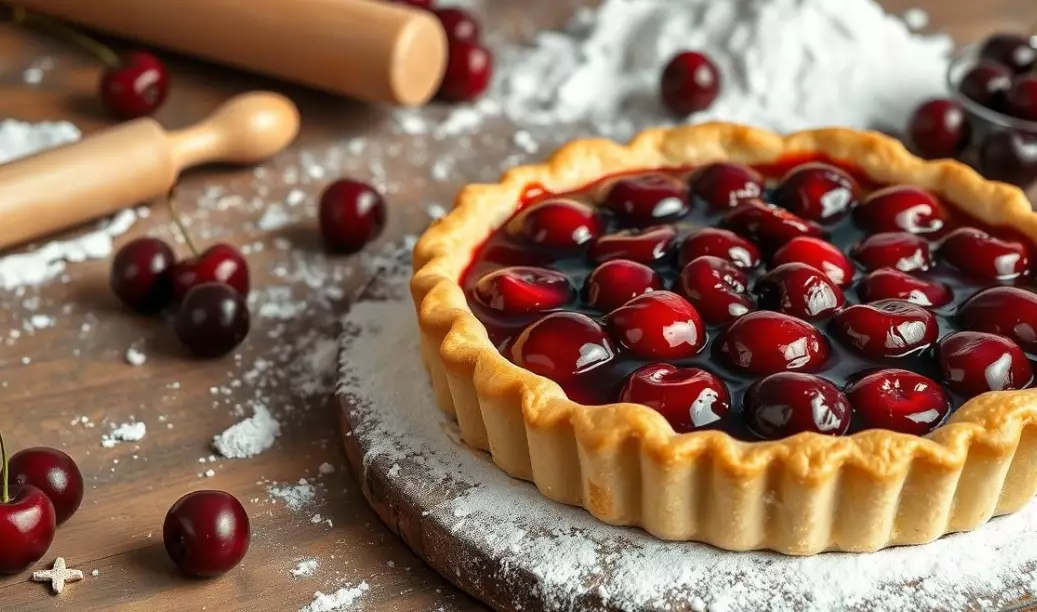
Ingredients & The Non-Negotiables
You need just four things: all-purpose flour, unsalted butter (cold, straight from the fridge), a pinch of salt, and ice water. The brand of flour isn't critical, but the butter temperature is. European-style butter with a higher fat content (like Kerrygold or Plugrà) makes a noticeable difference in flavor and flakiness, but standard butter works fine.
Pro Tip Most Recipes Miss: Don't just cube the cold butter. Grate it on the large holes of a box grater. This distributes cold butter shreds throughout the flour instantly, minimizing handling and guaranteeing a flaky texture. It's a game-changer for beginners.
Here's the process, simplified:
- Combine dry: Whisk flour and salt.
- Incorporate fat: Toss the grated butter into the flour with a fork until it looks like coarse crumbs with some pea-sized bits.
- Add water: Drizzle in ice water, a tablespoon at a time, mixing with the fork until the dough just holds together when pinched. You might not need all the water. It should look shaggy, not smooth.
- Chill, twice: Form into a disc, wrap, and chill for at least 1 hour. Roll it out, fit it into your tart pan, trim, and chill again for 30 minutes. This second chill prevents shrinkage during baking.
- Blind bake: Line the chilled shell with parchment and pie weights (or dried beans). Bake at 375°F (190°C) for 15 minutes. Remove weights and parchment, bake 5-10 more minutes until lightly golden. Let it cool slightly before filling.
If your dough cracks while rolling, it's too cold. Let it sit for 5 minutes. If it's sticky, it's too warm. Chill it again. This back-and-forth is normal.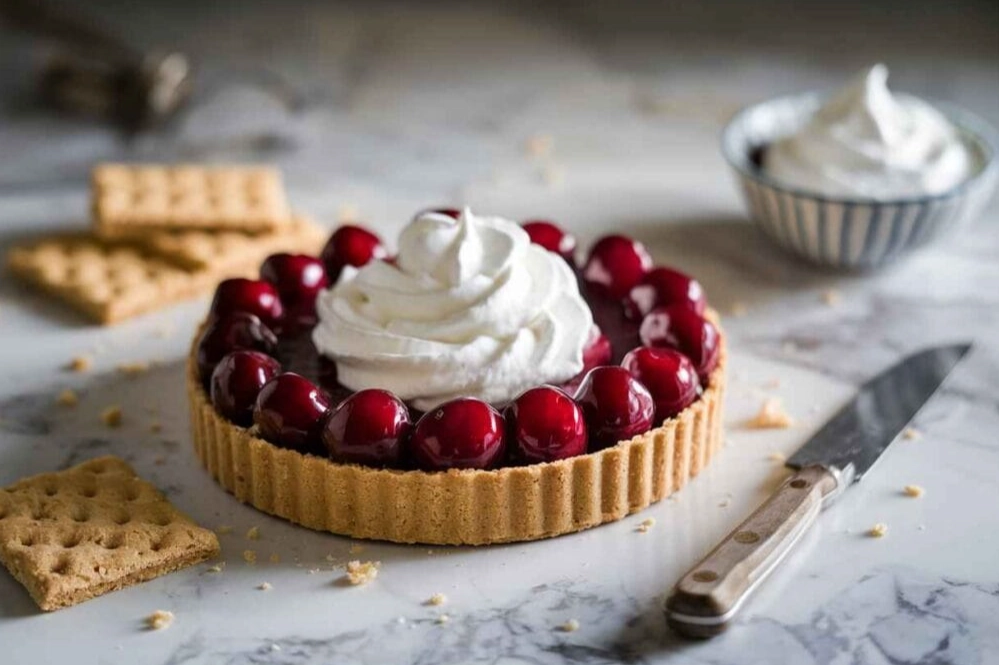
How to Make Cherry Tart Filling That Sets Perfectly
The filling needs to be sweet but not cloying, set but not rubbery. The magic lies in the thickener and the cherry preparation. Most recipes use cornstarch, which can get cloudy and gloopy if overcooked. I prefer a combination. A little tapioca starch (or cornstarch) for immediate thickening, and a secret weapon: a small amount of ground almonds (almond flour) mixed in. The almonds absorb excess juice as it bakes, giving you a cleaner, more stable set without altering the flavor.
Basic Cherry Filling Formula (for a 9-inch tart):
- Fresh Cherries: 1.5 lbs (about 680g), pitted. Yes, pitting is a chore. A cherry pitter is worth the $15.
- Sugar: 1/3 to 1/2 cup, depending on cherry sweetness.
- Lemon Juice: 1 tablespoon. The acid brightens everything.
- Vanilla Extract: 1 teaspoon.
- Almond Extract: 1/4 teaspoon (optional but classic).
- Thickener: 2 tablespoons tapioca starch (or cornstarch) + 2 tablespoons finely ground almonds.
- Butter: 1 tablespoon, dotted on top before baking.
Toss the pitted cherries with sugar, lemon juice, and extracts. Let them macerate for 20 minutes—this draws out juices. Drain those juices into a small saucepan. Whisk the thickeners into the juices and cook over medium heat, stirring constantly, until it thickens into a clear, glossy paste. Pour this paste back over the cherries and fold gently. This pre-cooking of the thickener with the juice is the key to a filling that sets cleanly without a starchy taste.
Assembly, Baking & The Golden Rules
You have a baked shell. You have your glossy cherry mixture. Now, the easy part.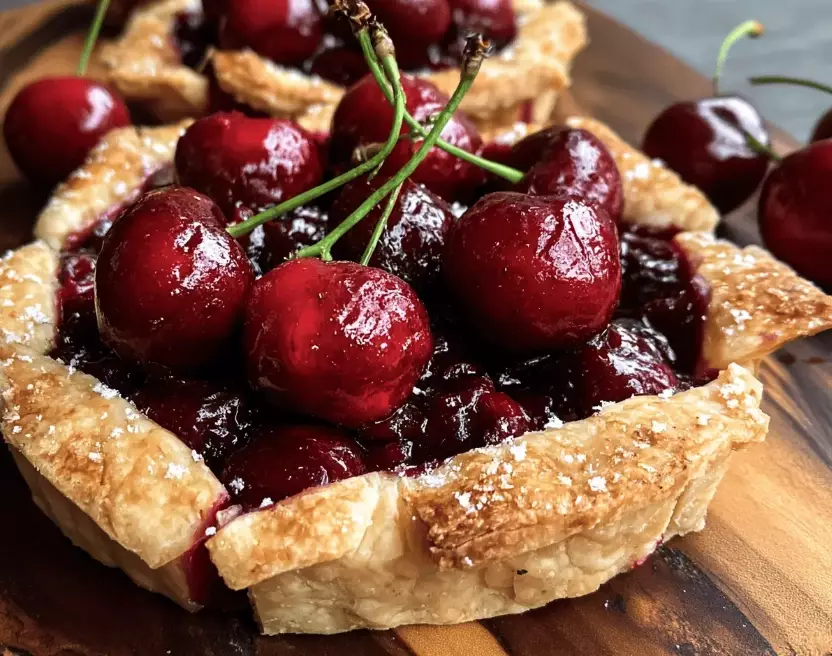
- Pour the cherry filling into the slightly cooled tart shell. Spread it evenly.
- Dot the top with tiny pieces of cold butter.
- Bake at 375°F (190°C) for 25-35 minutes. You're looking for the filling to be actively bubbling all over, not just at the edges. Those bubbles mean the thickener has fully activated.
- Let the tart cool completely on a wire rack, at least 2 hours. I know it's hard. But cutting into a warm tart is the fast track to a runny filling. The structure needs time to set as it cools.
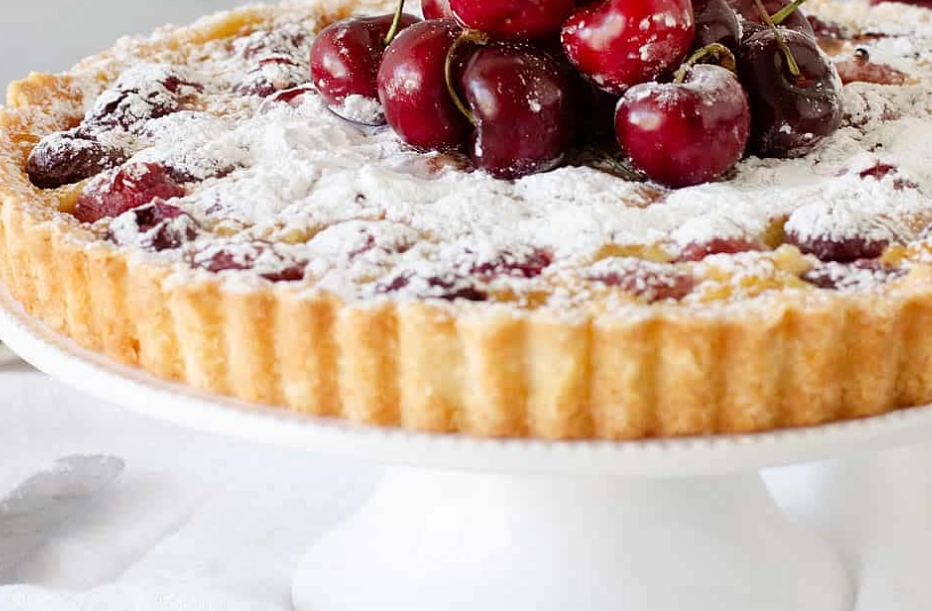
Serve it plain, with a dusting of powdered sugar, or a dollop of lightly sweetened whipped cream or vanilla ice cream.
Cherry Showdown: Which Type Works Best?
Not all cherries are equal for baking. Your choice dramatically affects sugar levels and cooking time. Here’s a breakdown from my own kitchen tests.
| Cherry Type | Flavor Profile | Best For Tart? | Adjustment Needed |
|---|---|---|---|
| Bing (Sweet) | Deep red, very sweet, juicy | Excellent | Use less sugar (1/3 cup). May release more juice, ensure thickener is fully activated. |
| Rainier (Sweet) | Yellow-red, delicate, super sweet | Good, but delicate | Use least sugar (1/4 cup). Can become mushy; handle gently and don't overbake. |
| Montmorency (Sour/Tart) | Bright red, tangy, firm | The Classic Choice | Use more sugar (1/2 cup+). Holds shape beautifully, perfect sweet-tart balance. |
| Frozen Dark Sweet Cherries | Convenient, year-round, sweet | Very Good | Thaw completely and drain ALL excess liquid in a colander. Pat dry. Reduce liquid in recipe. |
My personal favorite? Montmorency cherries. They have the perfect acidity to balance the sugar and butter, and they keep their structure. According to the USDA, tart cherries like Montmorency have higher levels of certain acids, which is why they don't turn to complete mush when baked. If you can find them frozen at the store, grab a few bags.
Can you use jarred sour cherries? You can, but drain them extremely well and rinse to remove the often overly sweet syrup. You'll need to adjust sugar down significantly.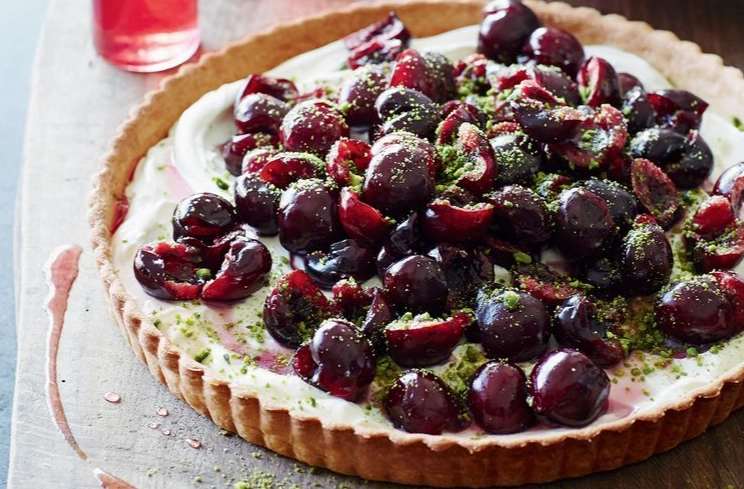
Your Cherry Tart Questions, Answered
My cherry tart filling is always runny. What am I doing wrong?
Can I use frozen cherries straight from the freezer?
My tart crust shrank down the sides of the pan. How do I prevent that?
What's the best substitute for tapioca starch?
Can I make any parts of this cherry tart ahead of time?
Reader Comments