Let's be honest, store-bought bell peppers can be expensive and often taste like... well, not much. Growing your own is a different story. The satisfaction of biting into a sweet, crisp pepper you nurtured from a tiny seed is hard to beat. I've been growing peppers for over a decade, and I've made every mistake in the book so you don't have to. This guide cuts through the fluff and gives you the straight talk on how to grow bell peppers successfully, whether you have a sprawling garden or a few pots on a balcony.
Your Bell Pepper Growing Roadmap
Choosing the Right Bell Pepper Variety
This is where most people just grab the first packet they see. Big mistake. The variety you choose dictates your entire season. Bell peppers come in more than just green turning red. You've got orange, yellow, purple, and even chocolate-brown varieties, each with slightly different growth habits and maturity times.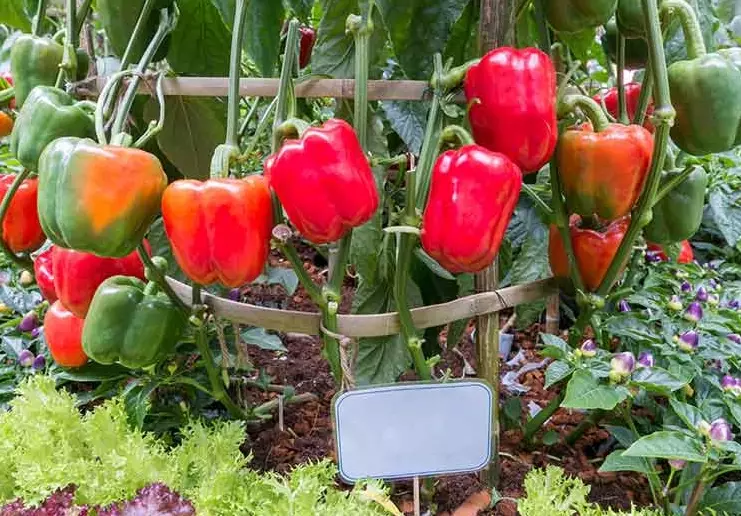
For beginners, I always recommend starting with a reliable, fast-maturing variety like 'California Wonder' or 'Early Sunsation'. They're tough, productive, and less fussy. If you're in a cooler climate with a short summer, these are your best friends. Want something more unique? 'Purple Beauty' gives you stunning dark purple peppers (that turn red if left long enough), and 'Lunchbox Orange' produces perfect, snack-sized peppers.
Here’s a quick comparison to help you decide:
| Variety | Color | Days to Maturity | Best For | My Notes |
|---|---|---|---|---|
| California Wonder | Green to Red | 75 days | Beginners, all climates | The classic. Heavy yields, thick walls. Never lets me down. |
| Early Sunsation | Yellow | 65-70 days | Short seasons, impatient gardeners | Lives up to its name. Sweet and early, great for containers. |
| Purple Beauty | Purple to Red | 70-75 days | Adding visual pop, salads | Stunning color but flavor is milder. Heat turns them green/red. |
| King of the North | Green to Red | 65-70 days | Cool, northern climates | Developed for short seasons. Sets fruit well in cooler temps. |
My non-consensus tip? Ignore the "giant" varieties your first year. They often take longer to mature and can be more temperamental. Get a successful harvest under your belt first.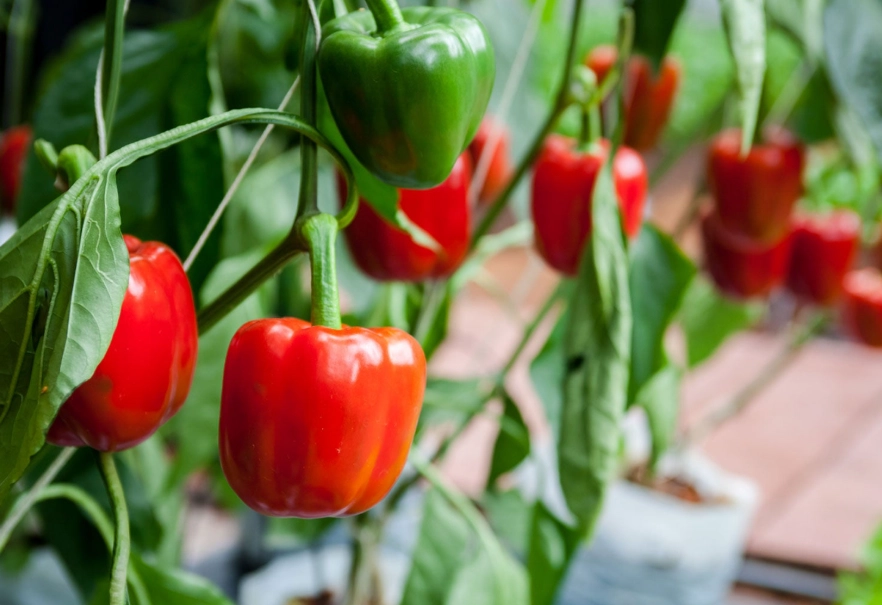
Starting Bell Peppers from Seed (The Right Way)
Bell peppers are warm-weather, slow-growing babies. This is the stage where most failures happen. You can't just sprinkle seeds in the garden after the last frost and hope. They need a long head start indoors.
Timing is Everything
Start seeds 8-10 weeks before your last expected spring frost. For me in zone 6b, that's mid-March. Use a frost date calculator or check with your local university extension service for the best date. Starting too early gives you leggy, pot-bound plants; starting too late wastes precious summer growing time.
The Setup You Actually Need
Forget fancy equipment. You need:
- Seed Starting Mix: Not potting soil. Use a sterile, fine-textured mix. I use a simple 50/50 blend of peat moss and vermiculite.
- Containers with Drainage: Recycled yogurt cups with holes poked in the bottom work perfectly.
- Bottom Heat: This is the secret weapon. Pepper seeds germinate best in soil temps of 80-90°F (27-32°C). A simple seedling heat mat cuts germination time from 3 weeks to 7-10 days.
- Strong Light: As soon as sprouts appear, they need light—a lot of it. A south-facing window is rarely enough. A basic LED shop light hung 2-4 inches above the seedlings for 14-16 hours a day prevents them from becoming weak and spindly.
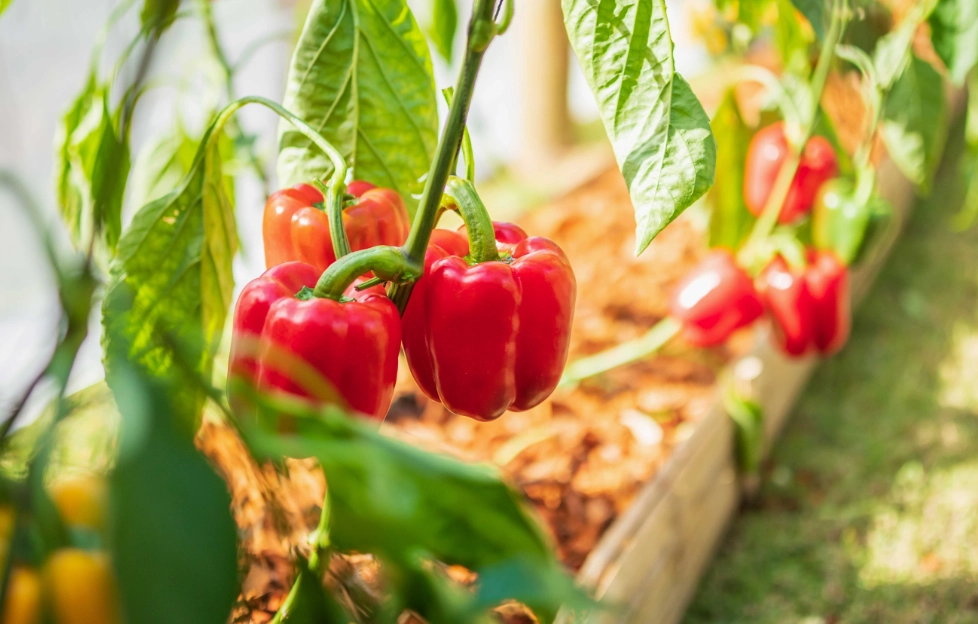
Harden them off for 7-10 days before transplanting. This means gradually exposing them to outdoor sun, wind, and cooler temps. Start with an hour of morning sun in a sheltered spot and increase daily.
Preparing the Soil and Planting Site
Bell peppers are sun worshippers and soil snobs. They need full sun—at least 6-8 hours of direct, unfiltered sunlight. More is better. In partial shade, you'll get leafy plants with few peppers.
Soil: The Foundation of Success
The goal is rich, well-draining soil. If your garden soil is heavy clay or pure sand, amend it. I work in 3-4 inches of finished compost or well-rotted manure a few weeks before planting. A soil test is ideal, but aiming for a pH between 6.0 and 6.8 is safe.
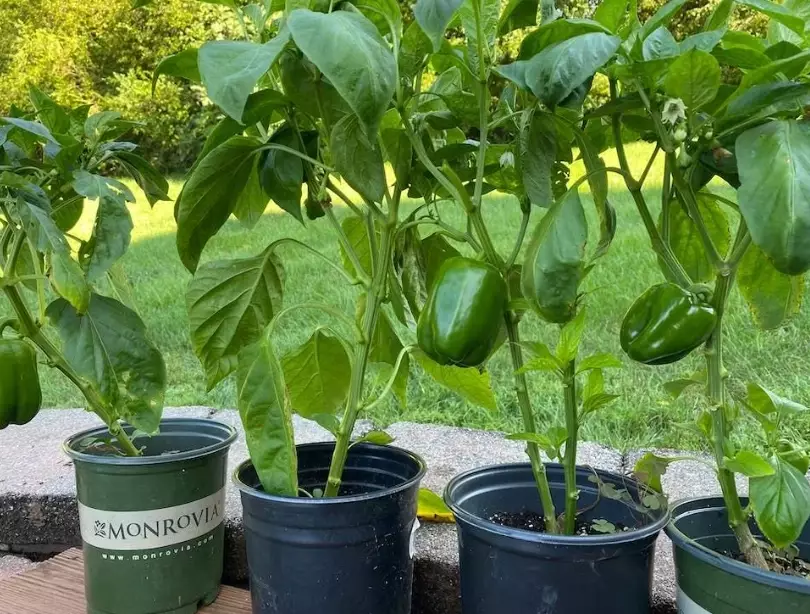
For container growing, use a high-quality potting mix, not garden soil. A 5-gallon pot is the minimum size for one plant. Ensure it has excellent drainage holes.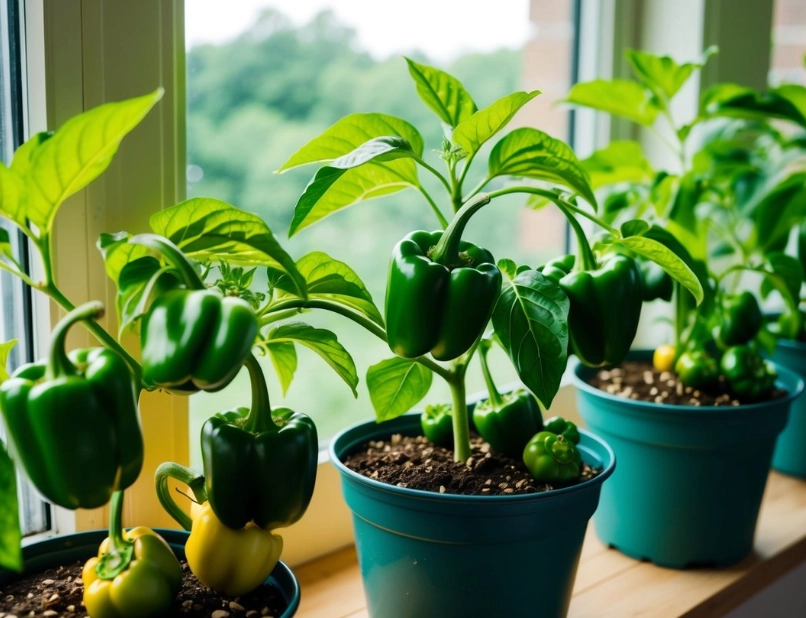
Planting Day
Wait until nighttime temperatures are consistently above 55°F (13°C). Cold soil shocks peppers and stunts them for weeks.
- Space plants 18-24 inches apart in rows 24-36 inches apart. They need air circulation.
- Plant them slightly deeper than they were in their pots. You can bury the stem up to the first set of true leaves. This encourages more root growth along the buried stem.
- Water deeply immediately after planting.
- Add support now. I put a short stake or small tomato cage in at planting time. Once the plant is heavy with fruit, it's too late to add support without damaging roots.
Watering, Feeding, and Ongoing Care
Consistency is key here. Bell peppers hate drought stress almost as much as they hate soggy feet.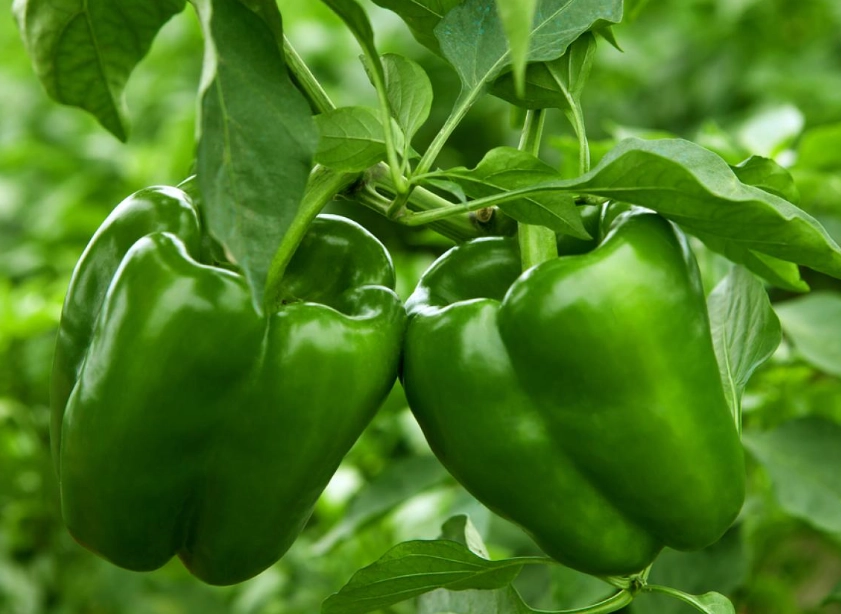
Watering: Aim for 1-2 inches of water per week, including rainfall. Water deeply and less frequently to encourage deep roots. Use a soaker hose or water at the base to keep leaves dry and prevent disease. In containers, check daily—they dry out fast. A layer of mulch (straw, shredded leaves) around the plants conserves moisture and suppresses weeds.
Feeding: Peppers are moderate feeders. I use a balanced, all-purpose organic fertilizer (like a 5-5-5) at planting time. When the first flowers appear, I switch to a fertilizer with more phosphorus and potassium and less nitrogen (like a 3-5-5). Too much nitrogen gives you a beautiful, bushy plant with no fruit. An occasional dose of compost tea or liquid seaweed keeps them happy.
Flowers and Fruit Set: If your plant is blooming but not setting fruit, the usual culprit is temperature. Night temps below 60°F or day temps above 90°F can cause blossoms to drop. Be patient; once the weather moderates, it will set fruit. You can gently shake the plant or use a small paintbrush to pollinate flowers if you're worried.
Solving Common Pests and Problems
Healthy plants are your first defense. Here are the main villains:
- Aphids: Tiny green or black bugs on new growth. Blast them off with a strong spray of water or use insecticidal soap.
- Pepper Maggots/Hornworms: Large green caterpillars that can defoliate a plant overnight. Hand-pick them (they're easy to spot) or use Bt (Bacillus thuringiensis), an organic bacterial spray.
- Blossom End Rot: This is a physiological disorder, not a disease. You'll see a dark, sunken, leathery spot on the bottom of the fruit. It's caused by a calcium deficiency in the developing fruit, almost always due to irregular watering (drought followed by heavy watering) which prevents the plant from taking up calcium. The fix is consistent moisture. Adding calcium to the soil after the fact won't fix existing fruit.
- Sunscald: Pale, papery patches on peppers exposed to direct, intense sun. It happens when foliage is sparse. Let the plant's leaves provide natural shade, or in extreme heat, use a shade cloth.
Harvesting and Storing Your Peppers
You can harvest bell peppers at any size. Green peppers are simply immature. They become sweeter, more nutritious (higher in vitamins A and C), and change color if left on the plant to fully ripen.
Use a sharp knife or pruners to cut the pepper from the plant, leaving a short stub of stem. Pulling can damage the branches.
Fresh peppers store well in the fridge's crisper drawer for 1-2 weeks. For long-term storage, they freeze beautifully. Just wash, core, remove seeds, chop or slice, and spread on a baking sheet to freeze individually before bagging. No need to blanch. You can also roast and peel them before freezing for ready-to-use roasted peppers.
Your Bell Pepper Questions Answered
Should I use cages or stakes for my bell pepper plants?
For most standard-sized varieties, a short stake (3-4 feet) is sufficient. Tie the main stem loosely as it grows. For larger, prolific varieties or if you have windy conditions, a small tomato cage provides better all-around support and is easier. The key is installing it early.
Why are my bell pepper leaves turning yellow?
Yellowing leaves have several possible causes. Lower, older leaves yellowing is often a natural process or a sign of nitrogen deficiency. Uniform yellowing of new growth can indicate overwatering or poor drainage. Yellow speckling or patterns might point to spider mites or a viral disease. Check soil moisture first, then look closely for pests.
Can I grow bell peppers in the same spot year after year?
It's not recommended. Practicing crop rotation helps prevent a buildup of soil-borne diseases and pests specific to the nightshade family (peppers, tomatoes, eggplant, potatoes). Try to wait at least 2-3 years before planting peppers in the same bed. If space is limited, refresh the soil deeply with compost each year.
My peppers are small and misshapen. What went wrong?
This is often due to poor pollination or extreme heat during fruit set. Incomplete pollination can lead to lopsided or small fruit. While peppers are largely self-pollinating, encouraging bee activity helps. The more likely culprit is a sustained heatwave above 90°F during flowering, which stresses the plant. Providing afternoon shade during peak heat can mitigate this.
Is it worth pruning or pinching my pepper plants?
This is a debated topic. Commercial growers often "top" seedlings to encourage bushiness. For home gardeners, I find minimal pruning is best. Removing the very first flower bud can direct energy to early plant growth, potentially leading to a larger plant and bigger harvest later. Otherwise, just remove any damaged or diseased leaves to improve air flow. Over-pruning can reduce your yield.
Reader Comments