That deep, amber-gold hue of perfectly cooked onions isn't just about looks. It's the foundation of flavor for countless dishes, from a humble weeknight pasta to a show-stopping French onion soup. Getting that sweet onion color right—the point where natural sugars have caramelized into complex, savory-sweet goodness—is a non-negotiable skill for anyone who wants their cooking to taste restaurant-quality. I learned this the hard way, after years of impatiently turning up the heat and ending up with onions that were either pale and sharp or, worse, bitter and burnt. This guide is everything I wish I'd known back then.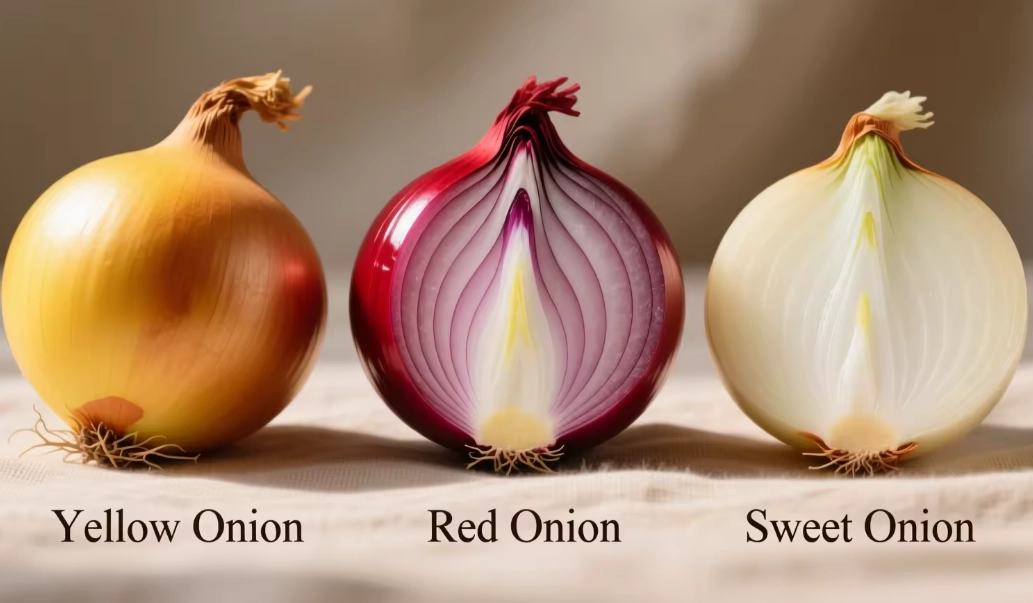
What You'll Find in This Guide
- What Exactly is the Sweet Onion Color?
- How to Achieve the Perfect Sweet Onion Color: A Step-by-Step Guide
- Common Mistakes That Ruin Your Onion Color (And How to Fix Them)
- Top 5 Ways to Use Your Perfectly Caramelized Onions
- Putting It Into Practice: Two Can't-Miss Recipes
- Your Caramelized Onion Questions, Answered
What Exactly is the Sweet Onion Color?
It's not just "brown." Think of a spectrum. You start with raw onion's opaque white. As heat is applied, it becomes translucent. Then, if you're patient, the magic begins. The natural sugars within the onion cells—mainly fructose—start to break down and recombine in a process known as the Maillard reaction (the same science behind searing a steak or baking bread). This creates hundreds of new flavor compounds.
The visual cue for this transformation is a gradual shift from translucent to a soft, golden yellow, then into a rich, uniform amber, and finally to a deep mahogany brown. The sweet spot, the "sweet onion color," is that stage of deep, golden amber. The onions are fully softened, sticky, and have lost all their raw bite, replaced by a mellow, intensely savory sweetness with no trace of bitterness. Stopping here is key. Go too far, and those complex sugars carbonize, turning acrid.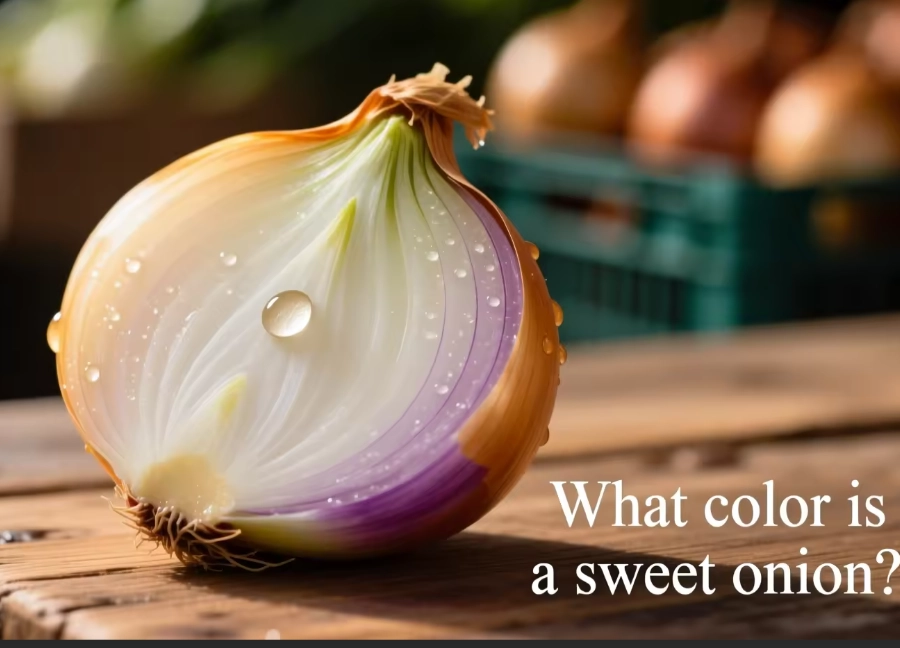
A Quick Science Note
True caramelization (sugar breaking down at high heat) and the Maillard reaction (sugars reacting with amino acids) happen together here. It's why the flavor is so much more complex than just "sweet." You get nutty, toasty, and meaty notes. For a deeper dive into the chemistry, resources like the Serious Eats food science section or academic papers on the Maillard reaction are fantastic.
How to Achieve the Perfect Sweet Onion Color: A Step-by-Step Guide
Forget the 10-minute "quick caramelize" hack. Good color demands time, usually 45 minutes to an hour. But most of that is hands-off. Here's the method that never fails me.
The Non-Negotiable Foundation
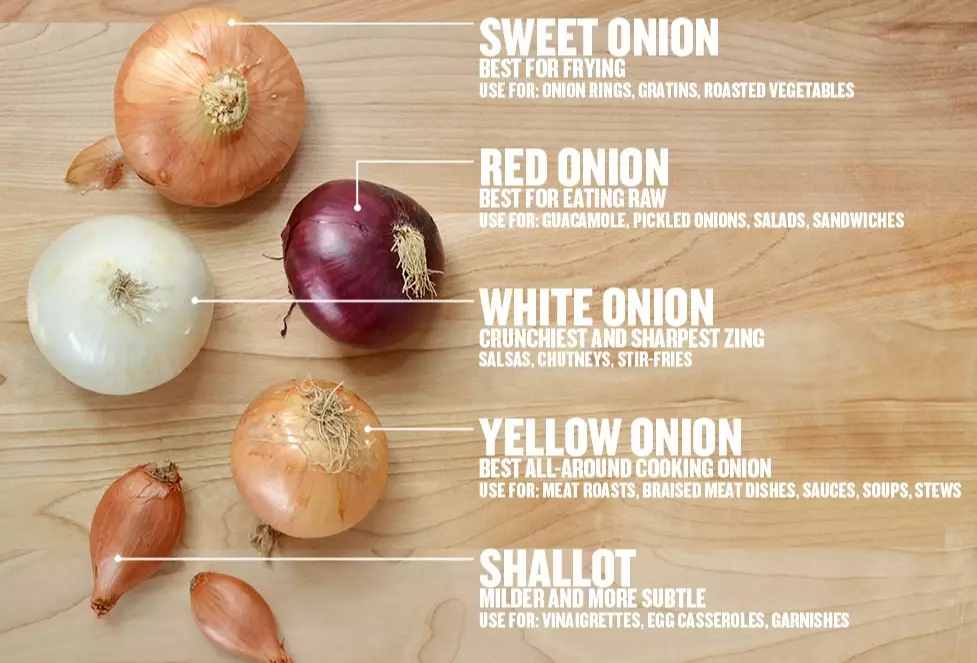
Onion Choice Matters. Not all onions are equal for this task. You want onions high in sugars and water content.
| Onion Type | Best For Caramelizing? | Flavor & Color Notes | My Personal Pick |
|---|---|---|---|
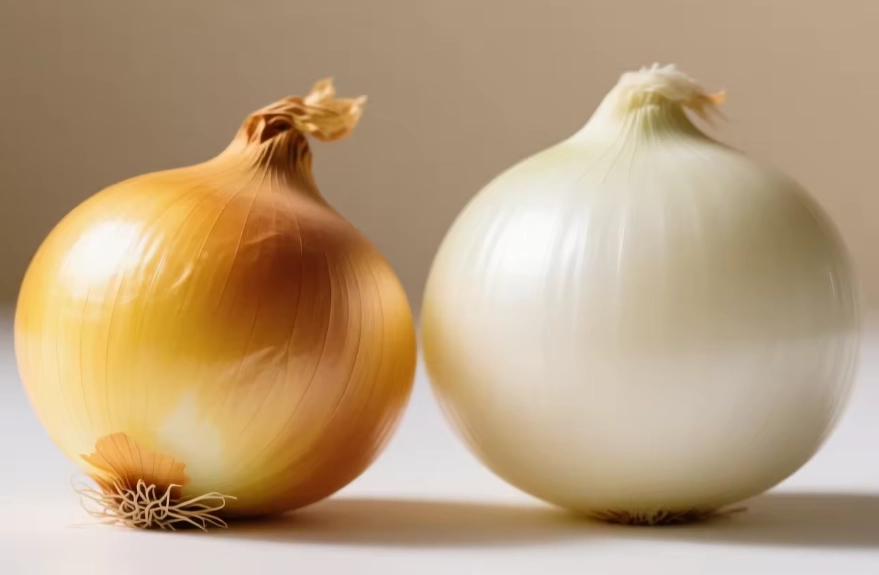
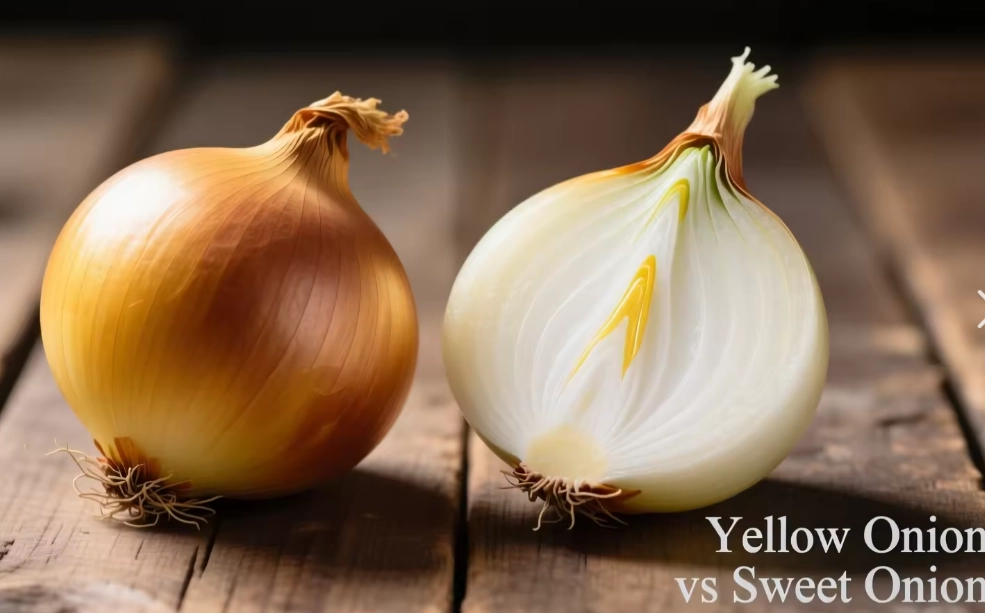
| Yellow Onions | Yes - The Gold Standard | High sugar, robust flavor. Yields a classic, deeply colored result. | Always. It's the workhorse. |
| Sweet Onions (Vidalia, Walla Walla) | Yes, but with a caveat | Very high sugar, milder. Caramelizes faster but can become too soft/mushy if overcooked. | Great for a milder, sweeter result. |
| Red Onions | Not ideal for classic color | Lower in sugar, anthocyanins (red pigment) can turn grayish-purple when cooked long. | Better for quick pickling or grilling. |
| White Onions | Acceptable | Sharper, more pungent. Can work but often lack the sugar depth of yellow onions. | Use if it's all you have, but expect less complexity. |
Slice Consistently. Don't dice. You want slices or half-moons about 1/4-inch thick. Too thin, and they'll burn to a crisp before caramelizing. Too thick, and they'll steam rather than brown evenly.
The Cooking Process: Low, Slow, and Undisturbed
- Fat is your friend. Use a heavy-bottomed pan (Dutch oven or stainless steel skillet). Add enough fat—butter, olive oil, or a mix—to generously coat the bottom. Butter adds flavor; oil has a higher smoke point. I use a 50/50 blend.
- The initial sweat. Add all your onions. They'll mound high—it's fine. Season with a big pinch of salt (this draws out moisture). Cook over medium heat, stirring frequently, until they've collapsed and released their liquid, about 15 minutes. They'll be translucent and swimming in juice.
- The waiting game. This is where people mess up. Reduce the heat to medium-low. Now, you let the liquid evaporate. Stir only every 5-7 minutes. You'll see the color start to change from the bottom up. As the last of the water cooks off, the sizzle will sound drier. This is when browning begins.
- Active caramelization. Once the onions are soft and mostly dry, stay close. Stir every 2-3 minutes, scraping up the browned bits (fond) from the bottom of the pan. This fond is flavor gold. The color will deepen rapidly now. If the pan seems dry or onions stick, add a tablespoon of water, broth, or even wine to deglaze and prevent burning.
- Know when to stop. Aim for that uniform deep amber color. They should be meltingly soft, reduced to about a quarter of their original volume. Taste them. They should be sweet, savory, and complex with no raw onion sharpness. Immediately transfer to a bowl to stop the cooking.
Common Mistakes That Ruin Your Onion Color (And How to Fix Them)
I've made every single one of these.
Mistake 1: The Heat is Too High. This is the cardinal sin. High heat burns the sugars on the outside before the inside breaks down. You get bitter, blackened spots and a raw, stringy texture. Fix: If you see smoking or rapid, uneven browning within the first 20 minutes, your heat is too high. Immediately lower it and add a splash of liquid to cool the pan down.
Mistake 2: Crowding the Pan. Piling onions on top of each other steams them. You end up with boiled, grayish onions, not caramelized ones. Fix: Use a pan large enough so the onions form no more than a 1.5-inch layer. If you're doing a huge batch, use two pans or cook in batches.
Mistake 3: Adding Sugar or Baking Soda. Some old recipes suggest this to "speed things up." Don't. Added sugar burns easily and creates a one-dimensional, cloying sweetness. Baking soda alters the pH and can make the onions turn to mush, destroying their texture. Fix: Trust the natural sugars in the onion. Time is the only real shortcut.
Mistake 4: Not Deglazing. Those dark brown bits stuck to the pan? That's concentrated flavor. Leaving them there risks them burning and turning the whole batch bitter. Fix: When you stir and see fond building, add a small splash (1-2 tbsp) of water, broth, or vinegar. It will sizzle and loosen the bits, which then get re-absorbed by the onions, deepening the color and flavor.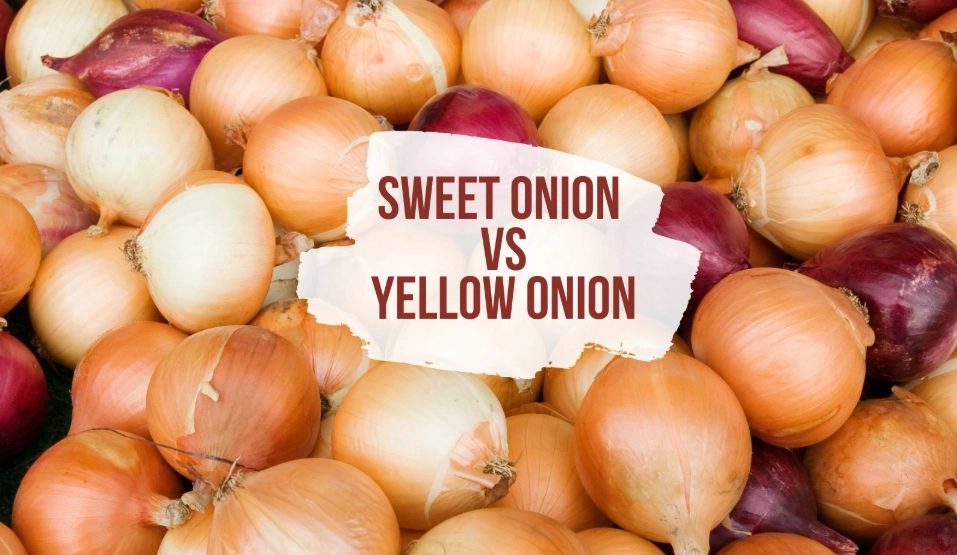
Top 5 Ways to Use Your Perfectly Caramelized Onions
Once you have a batch, it's like having a secret weapon in your fridge. They keep for about 5 days.
#1: The Ultimate Burger or Sandwich Topper. This is non-negotiable. A spoonful on a beef, turkey, or portobello mushroom burger adds a moisture and flavor bomb that makes ketchup irrelevant. Try them on a grilled cheese with sharp cheddar.
#2: Foundation for Soups and Stews. Start your next pot of French onion soup (obviously), beef stew, or lentil soup with a base of caramelized onions. It builds a flavor depth that hours of simmering can't replicate.
#3: Pasta and Grain Bowl Savior. Toss a few tablespoons into your pasta sauce (marinara or alfredo), stir into risotto just before serving, or mix into cooked quinoa or farro for an instant side dish.
#4: Elevated Breakfast. Fold them into scrambled eggs or an omelet, or use them as a topping for savory oatmeal or avocado toast.
#5: The Easy Appetizer. Spread some soft goat cheese or cream cheese on a crostini, top with a tangle of caramelized onions, and finish with a drizzle of balsamic glaze. Done.
Putting It Into Practice: Two Can't-Miss Recipes
1. The Weeknight Wonder: Caramelized Onion & White Bean Toast
This is my go-to lazy dinner. It feels fancy but takes minutes if you have the onions pre-made.
Ingredients: 1 can cannellini beans (drained), 1/2 cup caramelized onions, 1 garlic clove (minced), juice of 1/2 lemon, 2 tbsp olive oil, salt, pepper, red pepper flakes, fresh parsley, 4 slices of good crusty bread.
Method: In a bowl, mash the beans roughly with a fork. Stir in the caramelized onions, garlic, lemon juice, olive oil, and seasonings. Toast your bread. Pile the bean-onion mixture high on each toast. Finish with more olive oil and parsley. That's it.
2. The Showstopper: Classic French Onion Soup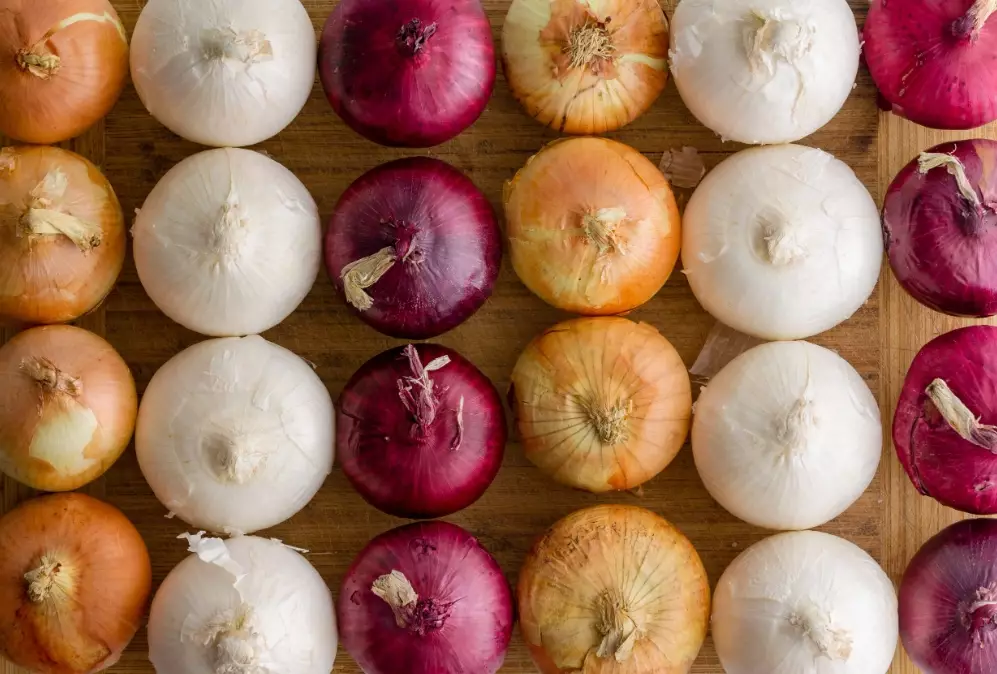
This is where your sweet onion color skills are fully displayed. I based this on the version from a spot I love, The Rustic Spoon (a fictional stand-in for your local great bistro). Their secret? A mix of beef and chicken broth for complexity.
Ingredients for 4: 4 large yellow onions (sliced), 3 tbsp butter, 1 tsp salt, 2 tbsp all-purpose flour, 1/2 cup dry white wine (like Sauvignon Blanc), 4 cups beef broth, 2 cups chicken broth, 2 sprigs fresh thyme, 1 bay leaf. For topping: Baguette slices, 1 1/2 cups grated Gruyère cheese.
Method: Caramelize the onions in the butter and salt using the low-and-slow method described above. This will take about 50 minutes. Sprinkle the flour over the onions and cook for 2 minutes, stirring. Pour in the wine to deglaze, scraping the pan. Add the broths, thyme, and bay leaf. Simmer for 30 minutes. Season with salt and pepper. Ladle into oven-safe bowls. Top with a baguette slice and a generous mound of Gruyère. Broil until bubbly and golden. Warning: It will be molten hot. Let it cool for 5 minutes.
Your Caramelized Onion Questions, Answered
 Can I make a big batch and freeze caramelized onions?
 Is there truly no way to speed this up?
Reader Comments