In This Guide
Let's get straight to the point. If you're here, you probably want to make pickles that actually taste like the ones from your childhood—crisp, tangy, and packed with flavor. The secret isn't just in the recipe; it starts with the cucumber itself. Old fashioned pickling cucumbers are the backbone of authentic homemade pickles, and in this guide, I'll share everything I've learned from years of trial and error, including a foolproof method that works every time.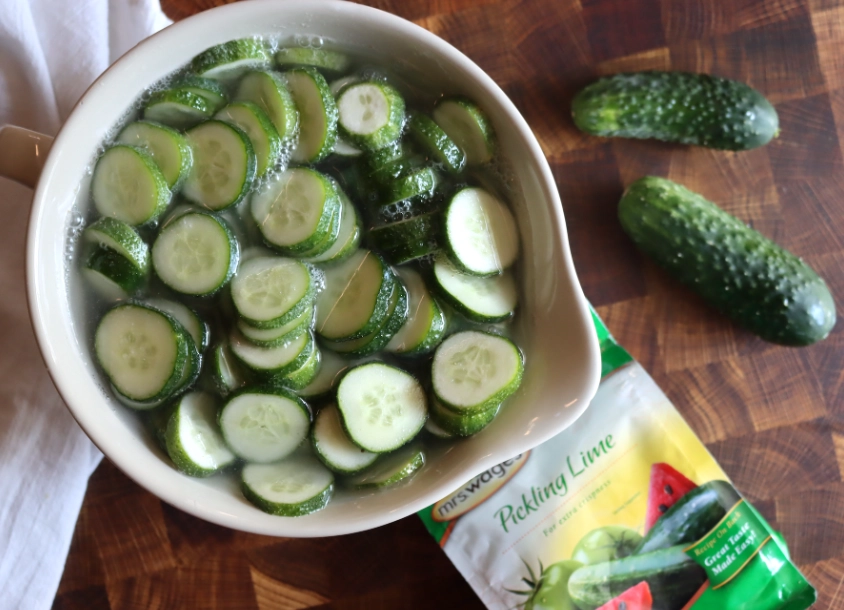
What Are Old Fashioned Pickling Cucumbers?
When people talk about old fashioned pickling cucumbers, they're usually referring to specific varieties that have been used for generations. These aren't your average salad cucumbers. They're smaller, firmer, and have a thicker skin that holds up during the pickling process. Think Kirby or Boston pickling cucumbers—they're the gold standard.
I remember the first time I tried pickling with regular English cucumbers from the supermarket. What a disaster. They turned into a soggy mess because they're too watery and thin-skinned. That's when I realized why my grandmother always insisted on going to the farmer's market for her pickling.
Key Characteristics to Look For
Here's what sets old fashioned pickling cucumbers apart:
- Size: Typically 3 to 6 inches long. Anything bigger tends to have too many seeds.
- Texture: Firm to the touch, with no soft spots. Squishy cucumbers are a no-go.
- Skin: Bumpy or spiny skin is actually a good sign—it often means they're ideal for pickling.
- Freshness: They should be harvested within 24 hours for the best crunch. Stale cucumbers won't pickle well.
According to the National Center for Home Food Preservation, using freshly harvested cucumbers is critical for safety and quality. If you can't get them fresh from a garden, look for local farmers' markets where they're likely picked that morning.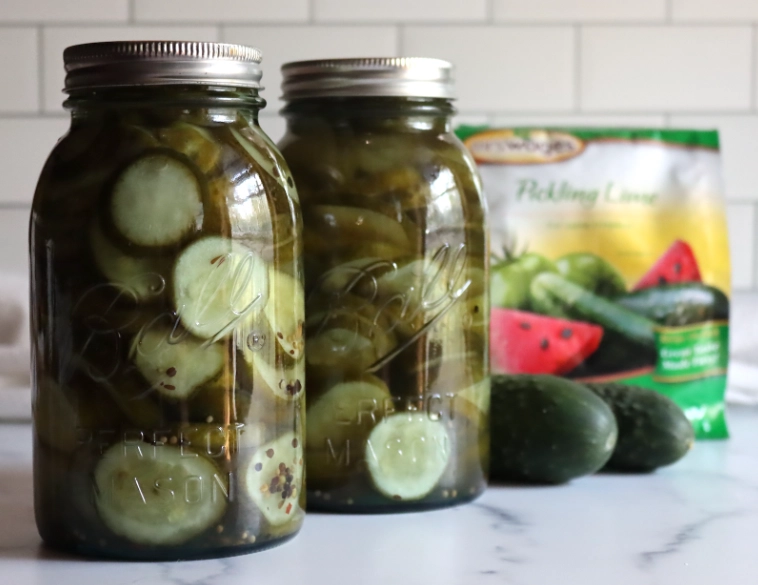
How to Choose the Best Cucumbers for Pickling
Selecting the right cucumbers can make or break your pickling project. It's not just about grabbing any cucumber labeled "pickling." You need to inspect them closely.
Here's a quick comparison of common cucumber varieties for pickling:
| Cucumber Variety | Best For | Why It Works (or Doesn't) |
|---|---|---|
| Kirby Cucumbers | Classic dill pickles, fermented pickles | Firm flesh, small seed cavity, thick skin that stays crisp. This is what most old fashioned recipes call for. |
| Boston Pickling Cucumbers | Bread-and-butter pickles, sweet pickles | Similar to Kirby but slightly sweeter. Great for traditional recipes. |
| Persian Cucumbers | Quick refrigerator pickles | Thin skin and fewer seeds, but they can get soft if processed for long-term storage. Not ideal for canning. |
| English Cucumbers | Not recommended for pickling | Too watery, thin skin—they'll turn mushy. Save these for salads. |
| Homegrown Heirloom Varieties | All types of pickling | If you grow your own, varieties like 'County Fair' or 'Lemon Cucumber' offer unique flavors and textures. |
When you're at the store or market, do this: press gently on the cucumber. It should feel solid, like a fresh apple. Avoid any with yellowing ends or wrinkles—that's age showing. And size matters. I've found that cucumbers about the width of your thumb are perfect for whole pickles, while larger ones are better sliced.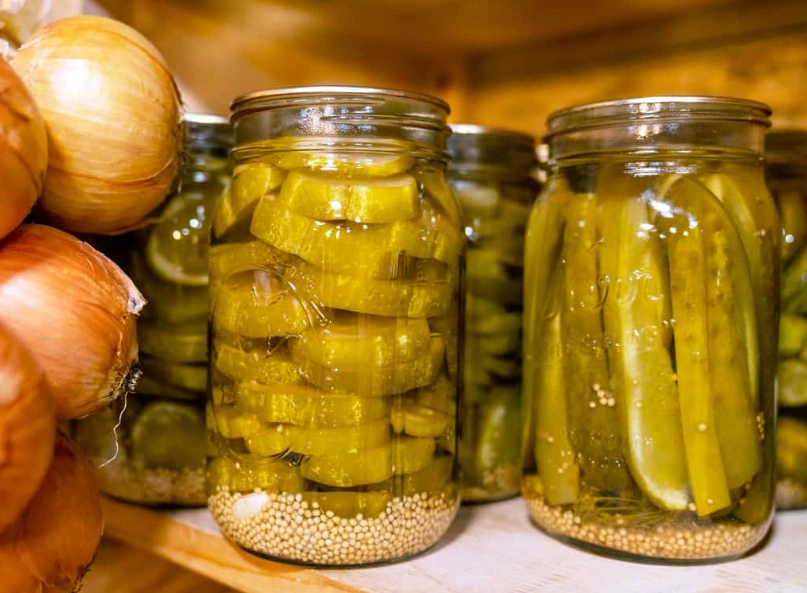
A pro tip most beginners miss: wash them right before use, but don't soak them. Soaking can make them absorb water and dilute the brine later.
Step-by-Step Old Fashioned Pickling Recipe
This recipe is based on the method my family has used for decades. It's simple, but the devil is in the details. We'll make a basic dill pickle that's perfect for beginners.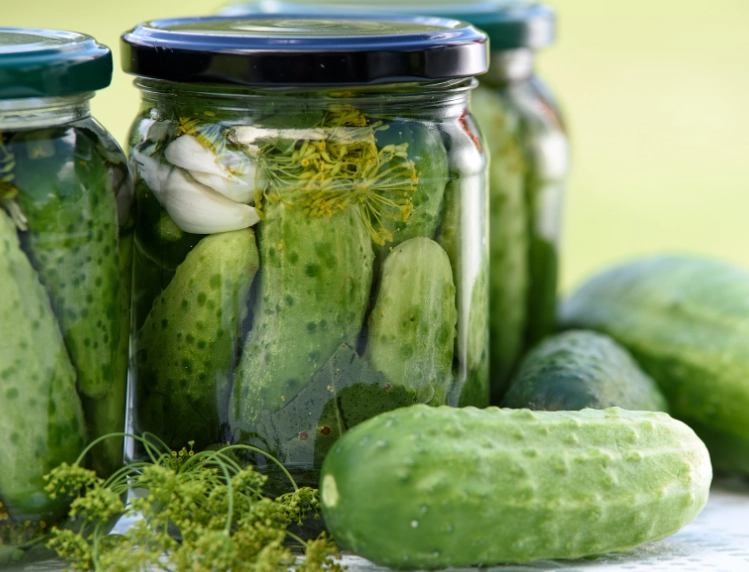
Ingredients:
- 2 pounds of old fashioned pickling cucumbers (Kirby or similar)
- 4 cups water
- 2 cups white vinegar (5% acidity)
- 3 tablespoons pickling salt (not iodized salt—iodine can cause discoloration)
- 4 cloves garlic, peeled
- 2 tablespoons dill seeds or fresh dill heads
- 1 teaspoon black peppercorns
- Optional: 1 teaspoon mustard seeds, a few red pepper flakes for heat
Equipment: Large pot, canning jars with lids, jar lifter, ladle. If you're new to canning, check out resources from the USDA for safe practices.
Step 1: Prepare the Cucumbers. Wash them under cold running water. Scrub off any dirt with a brush. Trim off the blossom end—this is crucial because enzymes there can make pickles soft. I learned this the hard way after a batch turned to mush. Just slice off about 1/16 inch from the end.
You can leave them whole, slice into spears, or cut into chips. For whole pickles, I prefer small cucumbers that fit snugly in the jar.
Step 2: Make the Brine. In a non-reactive pot (stainless steel or enamel), combine water, vinegar, and salt. Bring it to a boil over medium heat, stirring until the salt dissolves. Don't let it boil vigorously; a gentle simmer is fine. This brine ratio ensures proper acidity for safe preservation.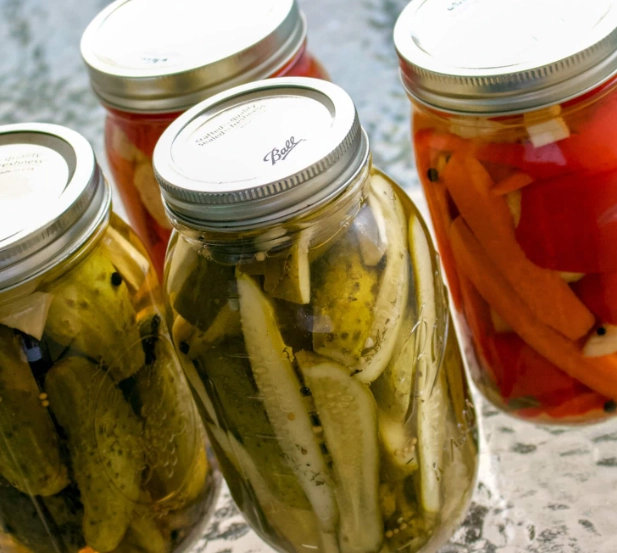
Step 3: Pack the Jars. Sterilize your jars by boiling them for 10 minutes. Keep them hot. Into each jar, add garlic cloves, dill, peppercorns, and any optional spices. Then tightly pack the cucumbers in, leaving about 1/2 inch of headspace at the top. Pack them as tightly as possible without crushing—this helps keep them submerged later.
Step 4: Pour and Seal. Carefully pour the hot brine over the cucumbers, covering them completely but maintaining that headspace. Wipe the jar rims with a clean cloth to remove any residue. Place the lids on and screw bands fingertip-tight—not too tight, or air can't escape during processing.
Step 5: Process the Jars. If you're canning for shelf stability, process in a boiling water bath for 10 minutes (adjust for altitude if needed). Use a canner or large pot with a rack. After processing, remove the jars and let them cool on a towel. You'll hear pops as they seal.
Step 6: Wait and Enjoy. Let the pickles sit for at least 2 weeks before eating. This allows flavors to develop. I know it's tempting to try them early, but trust me—the wait is worth it. Store in a cool, dark place. Once opened, refrigerate.
This recipe yields about 4 pints. For a larger batch, scale up proportionally, but always maintain the vinegar-to-water ratio for safety.
Common Mistakes to Avoid
Even with a good recipe, things can go wrong. Here are pitfalls I've seen—and fallen into myself.
Using the wrong salt. Table salt with anti-caking agents can cloud the brine. Pickling salt or kosher salt is best. I once used iodized salt, and the pickles turned dark and tasted off.
Skipping the blossom end trim. That tiny end piece contains enzymes that break down pectin, leading to soft pickles. It's a small step with a big impact.
Overprocessing in the water bath. Too much heat can cook the cucumbers, making them mushy. Follow processing times exactly. If you're making refrigerator pickles, skip the boiling bath altogether and just store in the fridge.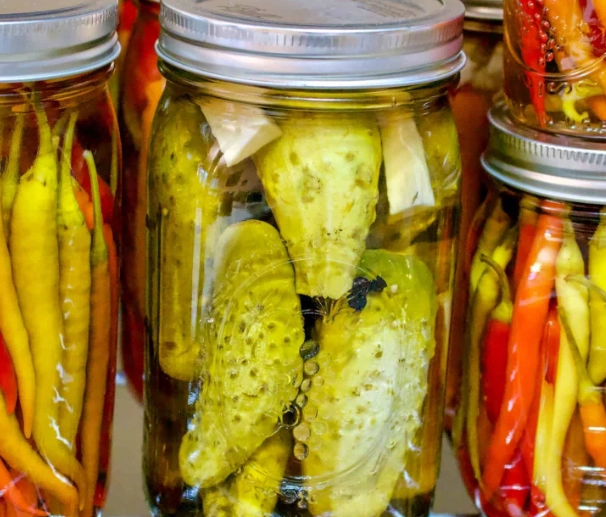
Not keeping cucumbers submerged. If they float above the brine, they can spoil or develop mold. Use fermentation weights or a small cabbage leaf to hold them down. In one batch, I didn't do this, and the top cucumbers got slimy—lesson learned.
Ignoring freshness. Old cucumbers won't pickle well. They should be firm and recently harvested. If they've been sitting in your fridge for a week, they're probably past their prime for pickling.
Another subtle error: using warm cucumbers straight from the garden. Let them cool to room temperature first; otherwise, they can shrink in the jar and leave too much headspace.
Reader Comments