You bring home a beautiful butternut squash. It looks perfect. You roast it, expecting that deep, nutty sweetness everyone raves about. But instead, you get a mouthful of bland, slightly fibrous disappointment. Sound familiar? I've been there. The secret, I learned the hard way after years of cooking, isn't just the recipe. It's starting with a truly ripe butternut squash. That's the difference between a forgetgettable side dish and a dish that makes people ask for the recipe. This guide cuts through the guesswork. We'll go beyond the basics you find everywhere and dive into the subtle signs of perfect ripeness, how to store it so it lasts for months (not weeks), and how to cook it in ways that maximize flavor, not just fill a plate.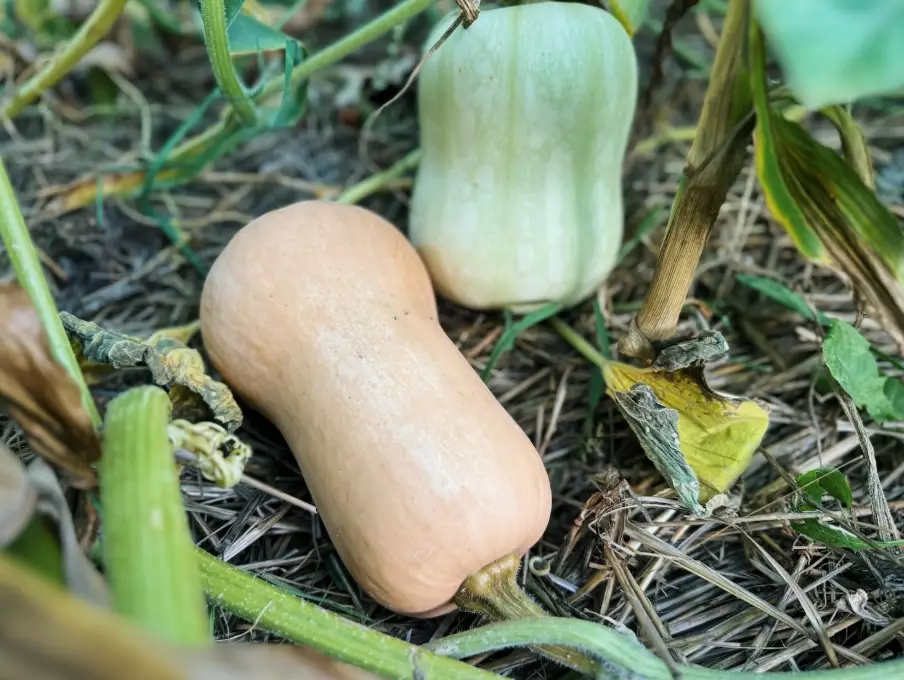
What You'll Learn in This Guide
How to Identify a Ripe Butternut Squash (The 4-Sense Check)
Forget just looking for a "tan" color. That's rookie advice. A ripe butternut squash communicates through multiple senses. Here's the checklist I use at the farmers' market or grocery store.
The Visual Test: The skin should be a uniform, deep tan or beige, not pale yellow. Look for a complete absence of green streaks, especially near the stem. The real pro tip? Check the spot where the squash rested on the ground. It should be a consistent, creamy yellow, not white or green. A matte finish is better than a shiny one—shine can indicate it was picked early.
The Touch and Sound Test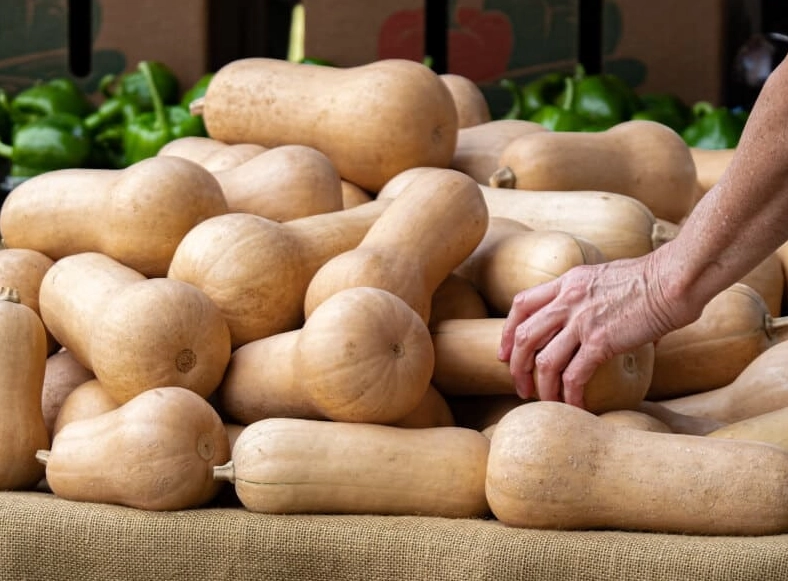
This is where most guides stop, but they miss the nuance. Yes, the skin should be very hard and difficult to pierce with a fingernail. But also press the squash gently. It should feel heavy and dense for its size, a sign of high moisture and developed flesh. Now, give it a gentle tap with your knuckle. A ripe squash will have a slightly hollow, deep sound. An unripe one sounds dull and solid. It's subtle, but you'll hear the difference with practice.
The Stem and Smell Check
The stem is a dead giveaway. A ripe squash will have a brown, dry, and corky stem, at least an inch long. A green, fleshy, or missing stem means it was harvested prematurely. Finally, bring the blossom end (the opposite end from the stem) close to your nose. A faint, sweet, earthy, almost cucumber-like scent is a good sign of ripeness. No smell isn't necessarily bad, but a strong, sweet aroma is a bonus.
What about size? A common myth is that bigger is better. Not true. Oversized squash can be more fibrous and watery. Aim for a medium-sized squash, typically 2-3 pounds, which usually has the best texture and concentration of sugars.
Storing Ripe Squash for the Long Haul
You've found the perfect squash. Now, don't ruin it by tossing it in the fridge. Here’s the storage hierarchy that prevents waste and preserves flavor.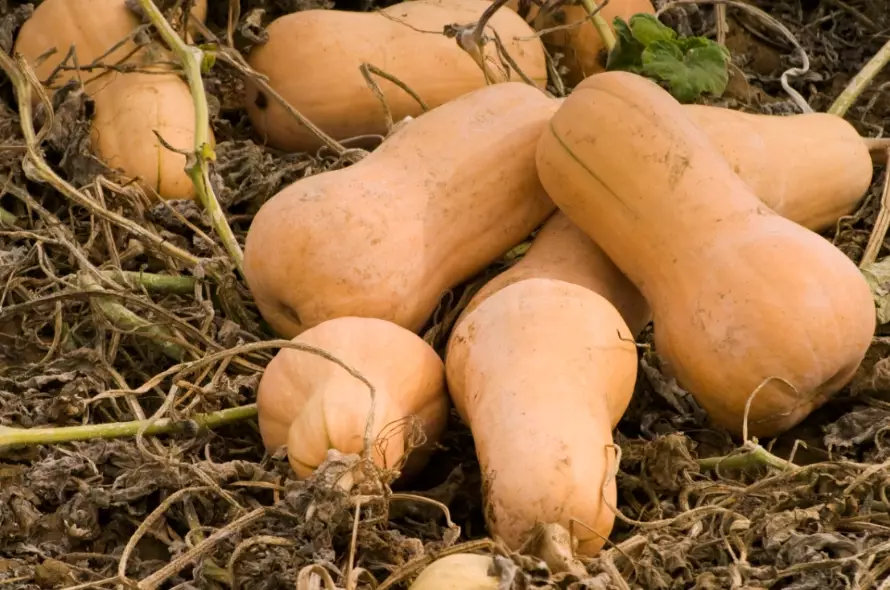
Ideal Long-Term Storage: A cool, dark, dry, and well-ventilated place. Think a basement, pantry, or a cupboard away from heat sources. The perfect temperature range is 50-55°F (10-13°C). In these conditions, a whole, uncut, ripe butternut squash can last 2 to 3 months, sometimes longer. Check it occasionally for soft spots.
What About the Fridge? This is a critical mistake many make. Never store a whole, uncut squash in the refrigerator. The cold humidity damages the cell structure, leading to a mushy texture and faster spoilage. The fridge is only for cut squash.
Handling Cut Squash
Once you cut into it, the clock starts ticking. Scoop out the seeds and strings. Wrap the cut surfaces tightly in plastic wrap or place the pieces in an airtight container. Refrigerate for up to 5 days. For longer storage, you must move to the freezer.
Freezing for Year-Round Use: This is my go-to method to avoid food waste. Peel and cube the squash. Blanch the cubes in boiling water for 2-3 minutes, then plunge them into ice water to stop the cooking. Drain thoroughly, spread on a baking sheet to freeze individually ("flash freeze"), then transfer to freezer bags. This prevents a giant frozen block. Frozen this way, it keeps for 10-12 months. You can also roast or puree the squash before freezing, which saves time later.
Preparing & Cooking Your Ripe Squash
A ripe squash is a versatile canvas. Its high sugar content caramelizes beautifully. The key is to not fight its natural sweetness, but to complement it.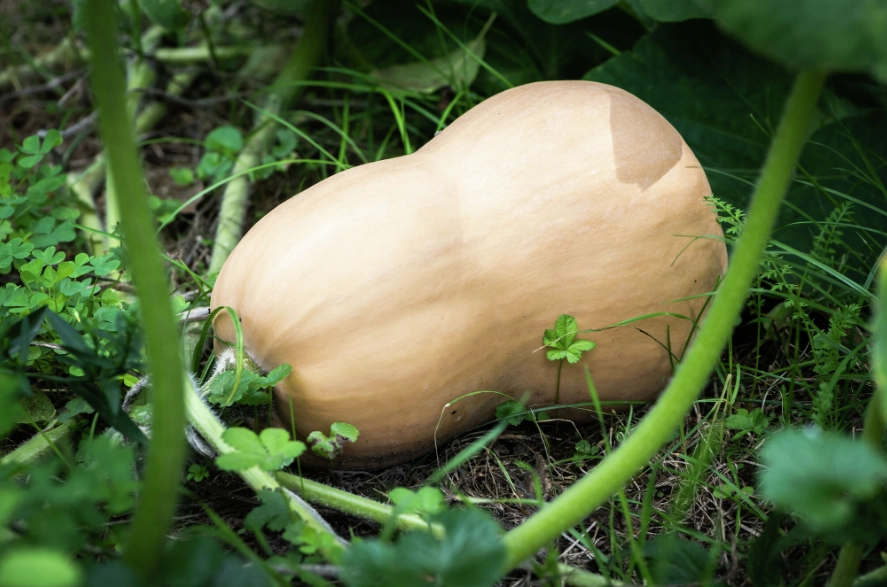
Roasting: The king of methods for ripe squash. High heat (400°F / 200°C) concentrates the sugars. Toss cubes with oil, salt, and maybe a touch of smoked paprika or rosemary. Don't crowd the pan—steam is the enemy of caramelization. Roast until deeply golden and tender.
Soups and Purees: A ripe squash makes the creamiest, sweetest soup without needing tons of cream. Roast it first for depth, then simmer with broth and aromatics like onion, garlic, and a hint of ginger or apple. Blend until silky.
Mashing: A fantastic alternative to potatoes. Boil or steam cubes until tender, then mash with butter, a splash of maple syrup or brown sugar (it needs very little if ripe), and warm spices like nutmeg or cinnamon.
A warning: Be careful with added sweeteners. A truly ripe squash is sweet on its own. If your recipe calls for a quarter cup of maple syrup, start with a tablespoon and taste. You can always add more, but you can't take it out.
A Foolproof Recipe: Maximally Sweet Roasted Squash
Caramelized Ripe Butternut Squash with Thyme
This recipe is designed to highlight the natural sugars of a perfectly ripe squash. It's simple, which is the point.
Ingredients:
1 medium ripe butternut squash (about 2.5 lbs), peeled, seeded, and cut into 1-inch cubes
2 tablespoons olive oil or avocado oil
1 tablespoon pure maple syrup (optional, but enhances caramelization)
1 teaspoon kosher salt
1/2 teaspoon freshly ground black pepper
4-5 sprigs fresh thyme (or 1 tsp dried)
A pinch of flaky sea salt for finishing (like Maldon)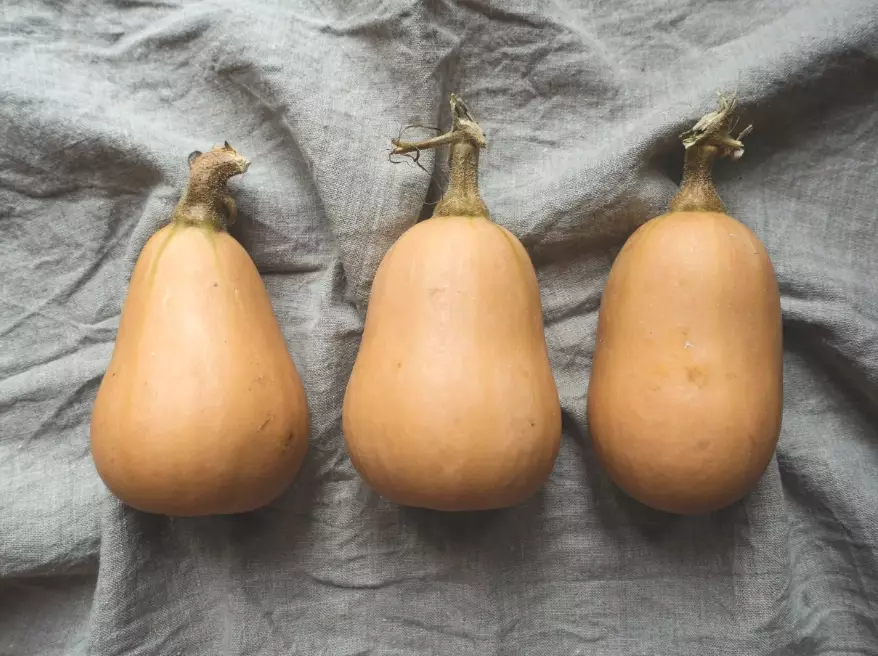
Steps:
1. Preheat your oven to 425°F (220°C). This higher heat is key for browning.
2. In a large bowl, toss the squash cubes with oil, maple syrup (if using), salt, and pepper until evenly coated.
3. Spread the cubes in a single layer on a large, rimmed baking sheet. Use two sheets if you have to—crowding causes steaming.
4. Scatter the thyme sprigs over the top.
5. Roast for 25-30 minutes, then use a spatula to flip/stir the pieces. Continue roasting for another 15-20 minutes, or until the squash is fork-tender and has deep brown, caramelized edges. The total time is usually 40-50 minutes.
6. Discard the thyme sprigs. Transfer to a serving dish and sprinkle with flaky sea salt. The contrast is magical.
Why this works: The high heat and ample space allow moisture to evaporate and sugars to concentrate and brown (the Maillard reaction). The optional maple syrup adds a gloss and promotes faster browning without making it cloyingly sweet. The fresh thyme adds an earthy, aromatic note that pairs perfectly with the squash's nuttiness.
Your Ripe Butternut Squash Questions Answered
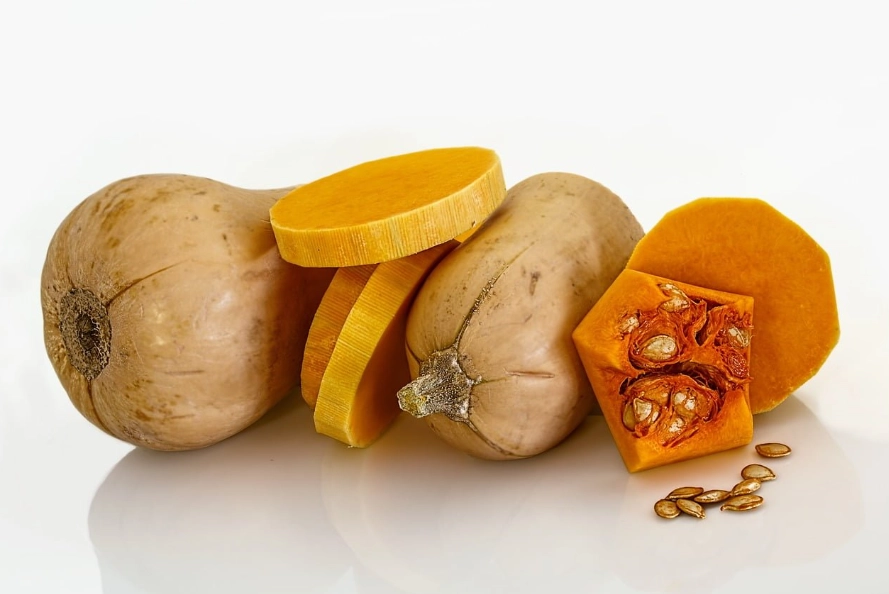 Is it safe to eat the skin of a ripe butternut squash?
Reader Comments