Let's talk about pickling cucumbers. It's not just following a recipe you found online. It's about transforming a simple, watery vegetable into a crunchy, tangy, and deeply flavorful condiment that can elevate a sandwich or become the star of a cheese board. I've been pickling for over a decade, and I can tell you, the difference between a good homemade pickle and a store-bought jar is night and day. This guide will walk you through the entire process, from selecting the right cucumbers to sealing the jar, and share the mistakes I made so you don't have to.
What's Inside This Guide
- Why Homemade Pickles Are Worth the Effort
- How to Choose the Right Cucumbers for Pickling
- Essential Tools and Ingredients You'll Need
- Step-by-Step Guide to Making Classic Dill Pickles
- Common Pickling Mistakes and How to Avoid Them
- Creative Variations Beyond Basic Dill
- Your Pickling Questions, Answered
Why Homemade Pickles Are Worth the Effort
You might think, "Why bother when I can buy a jar for two dollars?" I get it. But here's the thing: commercial pickles are often mushy, overly sour, and packed with preservatives like calcium chloride and yellow dye #5. When you pickle at home, you control everything. The crispness, the salt level, the garlic punch, the dill flavor. It's a simple satisfaction that connects you to a food preservation tradition that's centuries old. Plus, in late summer when cucumbers are cheap and abundant at the farmer's market, you can put up a dozen jars for the cost of a few store-bought ones.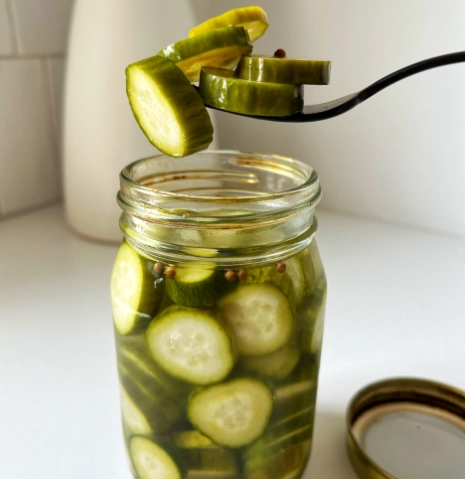
There's also a safety aspect. Properly canned pickles are shelf-stable, allowing you to enjoy summer's bounty in the dead of winter. According to the National Center for Home Food Preservation, using tested, science-based recipes for canning ensures safety from pathogens like botulism. That peace of mind is priceless.
How to Choose the Right Cucumbers for Pickling
This is the single most important step, and most beginners get it wrong. You cannot use just any cucumber.
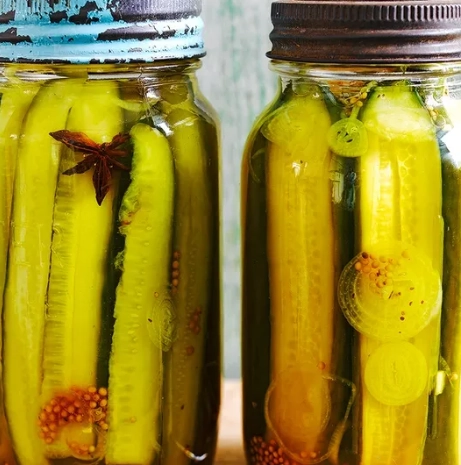
You need pickling cucumbers. Look for these specific varieties:
- Kirby Cucumbers: The gold standard. Small, bumpy, with firm flesh and tiny seeds.
- Boston Pickling: Similar to Kirby, great for whole gherkins.
- National Pickling: A prolific variety with a blocky shape.
What to look for when buying:
- Size: 4 to 6 inches long is ideal for spears or whole pickles.
- Firmness: They should be rock-hard with no give. Squishy means old.
- Color: A vibrant dark green. Avoid any with yellow patches.
- Blooms: A bit of white, powdery residue (the blossom end) is fine and can be scrubbed off.
My personal rule? I only pickle cucumbers I've bought the same day, preferably from a local farm stand. The longer they sit, the more they deteriorate.
Essential Tools and Ingredients You'll Need
You don't need a professional kitchen. Here's the basic setup.
Tools Checklist
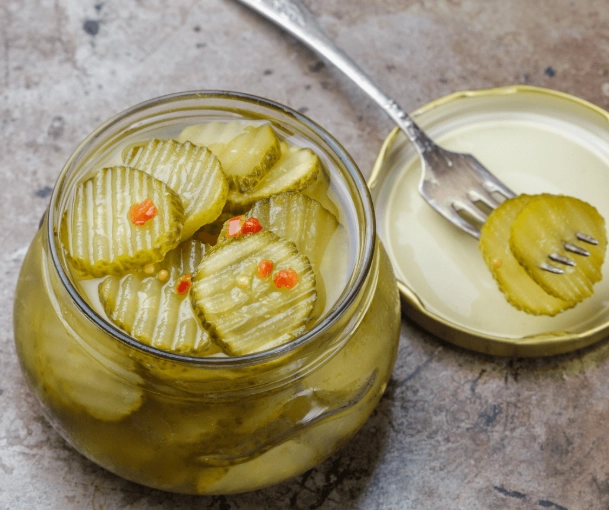
- Canning Jars: Pint or quart-sized Mason jars with new two-piece lids (flat disc and ring band). Never reuse the flat discs.
- Large Pot: For making the brine.
- Water Bath Canner or Very Large Pot: A deep pot with a rack to submerge jars for processing. A big stockpot with a folded towel on the bottom works in a pinch.
- Jar Lifter: Non-negotiable for safely handling hot jars.
- Canning Funnel: Makes filling jars mess-free.
- Bubble Remover/Headspace Tool: A cheap plastic tool to remove air bubbles and measure headspace.
- Clean Kitchen Towels.
Core Ingredients for the Brine
The brine is what preserves and flavors the cucumbers. The ratio is critical.
| Ingredient | Role | Key Quality Tip |
|---|---|---|
| Vinegar (5% Acidity) | Provides the acidic environment that prevents spoilage. | Use white distilled or apple cider vinegar. Check the label for 5% acidity. Do not use homemade or unknown-strength vinegar. |
| Water | Dilutes the vinegar. | Filtered or distilled water is best if your tap water is heavily mineralized, as minerals can cloud the brine. |
| Canning Salt | Enhances flavor and helps draw moisture from cukes, aiding crispness. | Use pure salt labeled "pickling" or "canning" salt. Avoid iodized table salt (it contains anti-caking agents that make brine cloudy) and sea salt (minerals cause cloudiness). |
| Fresh Dill | Primary aromatic flavor. | The flower heads (where the seeds form) have the most intense flavor, but fronds work too. |
| Garlic | Adds pungent backbone. | Fresh cloves, peeled and slightly crushed. |
| Spices (optional) | Adds complexity (mustard seed, black peppercorn, coriander seed, red pepper flakes). | Use whole spices, not ground, which will make the brine murky. |
Step-by-Step Guide to Making Classic Dill Pickles
Let's make a classic garlic dill pickle. This recipe is for about 4 pint jars.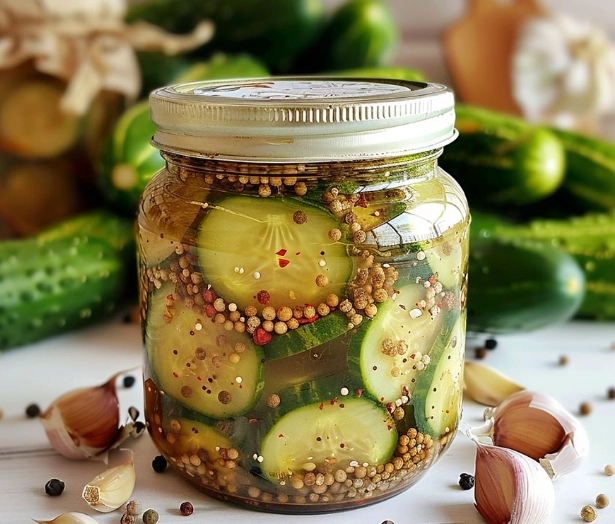
Prep Work (The "Mise en Place" of Pickling)
Wash your cucumbers thoroughly under cold water, scrubbing off any dirt. Trim off the blossom end (about 1/16th of an inch). There's an enzyme in the blossom that can lead to softening, so this step helps with crispness. You can leave them whole, slice into spears, or cut into coins.
Prepare your flavorings: wash dill, peel and lightly crush garlic cloves.
Wash your jars, lids, and rings in hot, soapy water. Keep the jars hot until you fill them—I put them in the canning pot as the water heats up.
Making and Packing
- Make the Brine: In your large pot, combine 3 cups of white vinegar (5% acidity), 3 cups of water, and 6 tablespoons of pickling salt. Bring to a rolling boil, stirring to dissolve the salt.
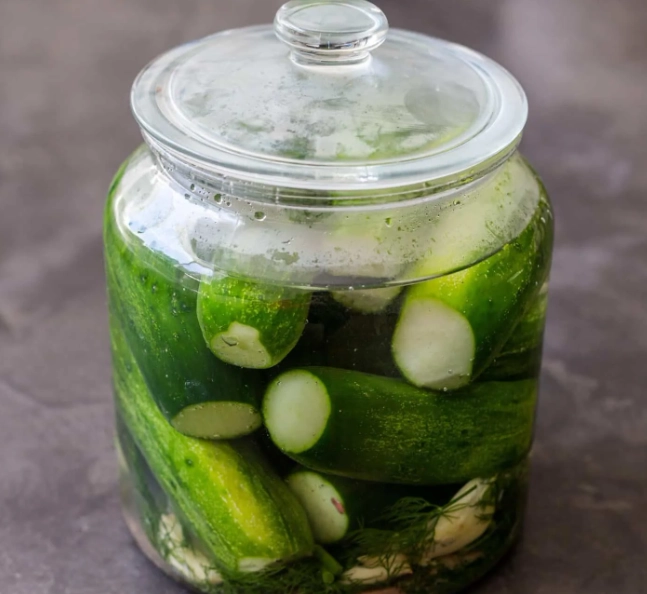
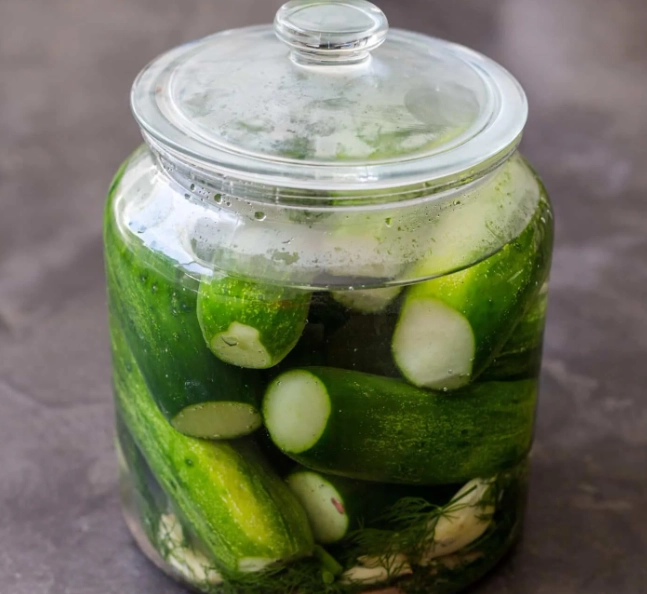
- Pack the Jars: Into each hot pint jar, place: 1 head of fresh dill (or a big sprig), 2 cloves of crushed garlic, 1 teaspoon mustard seed, 1/2 teaspoon black peppercorns, and a pinch of red pepper flakes if you like heat. Tightly pack the prepared cucumbers into the jar, leaving about 1/2 inch of headspace at the top.
- Add Hot Brine: Using your funnel, ladle the boiling brine into the jar, covering the cucumbers completely. Maintain that 1/2-inch headspace. Run your bubble remover around the inside of the jar to release trapped air bubbles.
- Seal: Wipe the jar rim with a clean, damp cloth to ensure a perfect seal. Place a flat lid on top, then screw on the ring band until it's "fingertip tight"—snug, but not cranked on with all your strength.
Processing for Shelf Stability
Place the filled jars on the rack in your boiling water bath canner, ensuring they are covered by at least 1-2 inches of water. Bring the water back to a full boil, then start your timer. Process pint jars for 10 minutes (adjust for altitude if you live above 1,000 feet—consult the NCHFP altitude guide).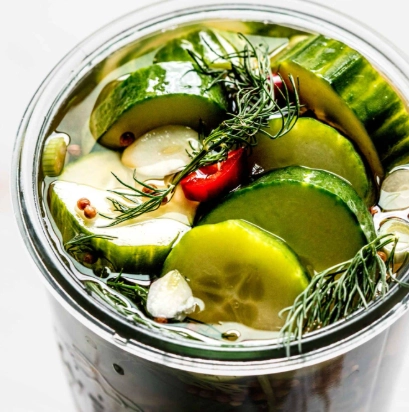
After processing, turn off the heat and let the jars sit in the water for 5 minutes before removing them with the jar lifter. Place them on a towel-lined counter, undisturbed, for 12-24 hours. You'll hear satisfying "pops" as the lids seal.
Common Pickling Mistakes and How to Avoid Them
I've made these so you don't have to.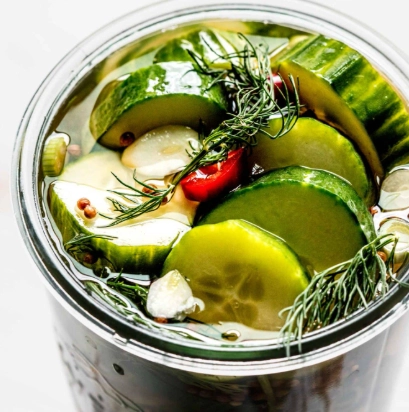
Mushy Pickles: The #1 complaint. Causes: wrong cucumber type, not trimming the blossom end, overcooking during processing, or using old cucumbers. Stick to Kirbys, trim the end, follow processing times, and use fresh produce.
Cloudy Brine: Usually harmless but unattractive. Caused by using table salt (anti-caking agents), hard water, or ground spices. Use pickling salt, filtered water, and whole spices.
Weak Flavor: The flavor needs time to develop. A freshly processed pickle tastes mostly of vinegar. Wait at least 4-6 weeks before opening a jar. The magic happens as the cucumbers slowly exchange flavors with the brine.
Jars That Don't Seal: If after 24 hours the lid still pops up and down, the seal failed. Refrigerate that jar immediately and eat those pickles within a few weeks. Causes: food debris on the rim, a defective lid, or incorrect headspace.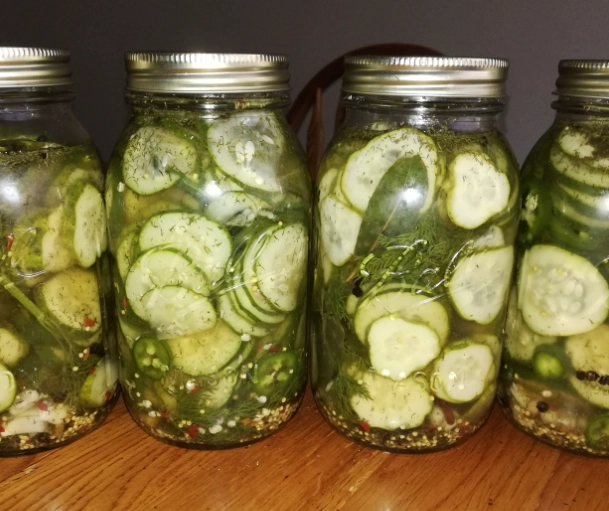
Creative Variations Beyond Basic Dill
Once you master the classic, the world is your oyster... pickle.
- Bread & Butter Pickles: Sweet and tangy. Add thin-sliced onions and a brine with sugar and turmeric to the basic recipe.
- Spicy Garlic: Double the garlic and add several whole dried arbol or habanero peppers to each jar.
- Dill & Horseradish: Add a 1-inch chunk of peeled, fresh horseradish root to the jar for a sinus-clearing kick.
- Pickle Spears with Oak Leaves: A traditional trick. Adding a clean, chemical-free grape or oak leaf to the jar provides natural tannins that help maintain extreme crispness.
Reader Comments